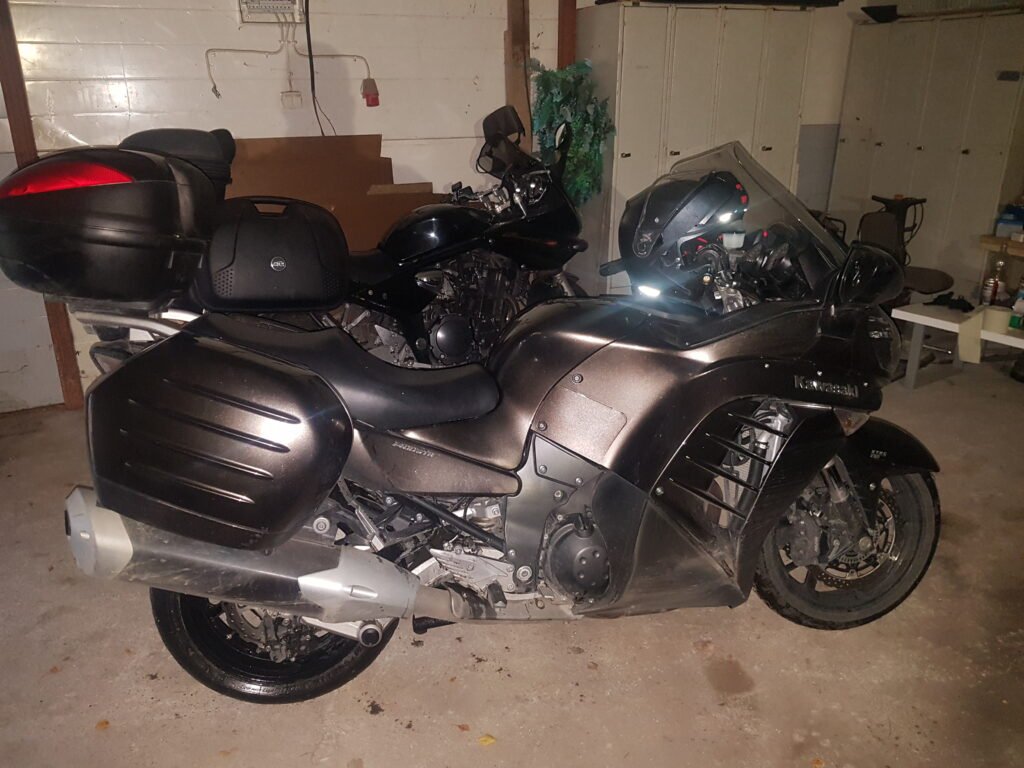
The Kawasaki GTR 1400 is known for its performance and riding comfort, but like all mechanical machines, it requires regular maintenance. This winter, I carried out a thorough maintenance check on my bike after noticing an issue with the fuel system. In this article, I’ll explain what happened, how I fixed it, and how much money I saved by doing the work myself.
How Did the Problem Appear?
It all started when I noticed that the oil level in my motorcycle was increasing, which was completely unusual. At first, I suspected a measurement error, but after several oil changes, the oil level continued to rise.
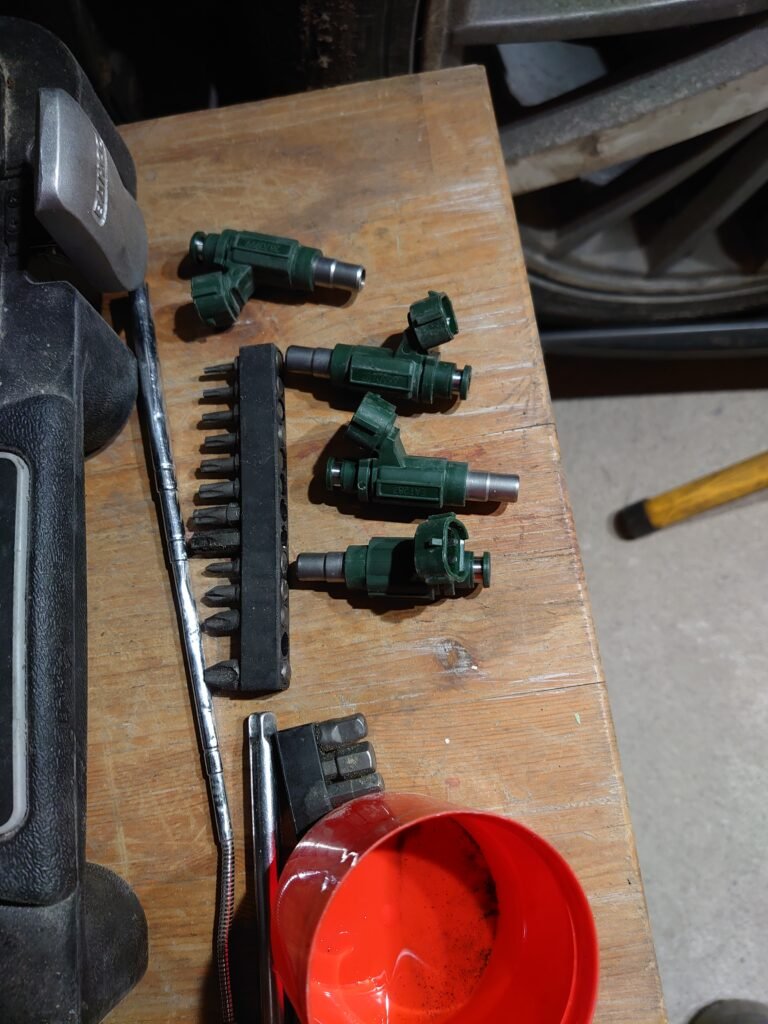
The cause? Two of the injectors were so clogged that after turning off the engine, fuel leaked onto the piston and mixed with the oil. This wasn’t just a performance issue—over time, it could have caused serious engine damage.
Steps to Solve the Issue
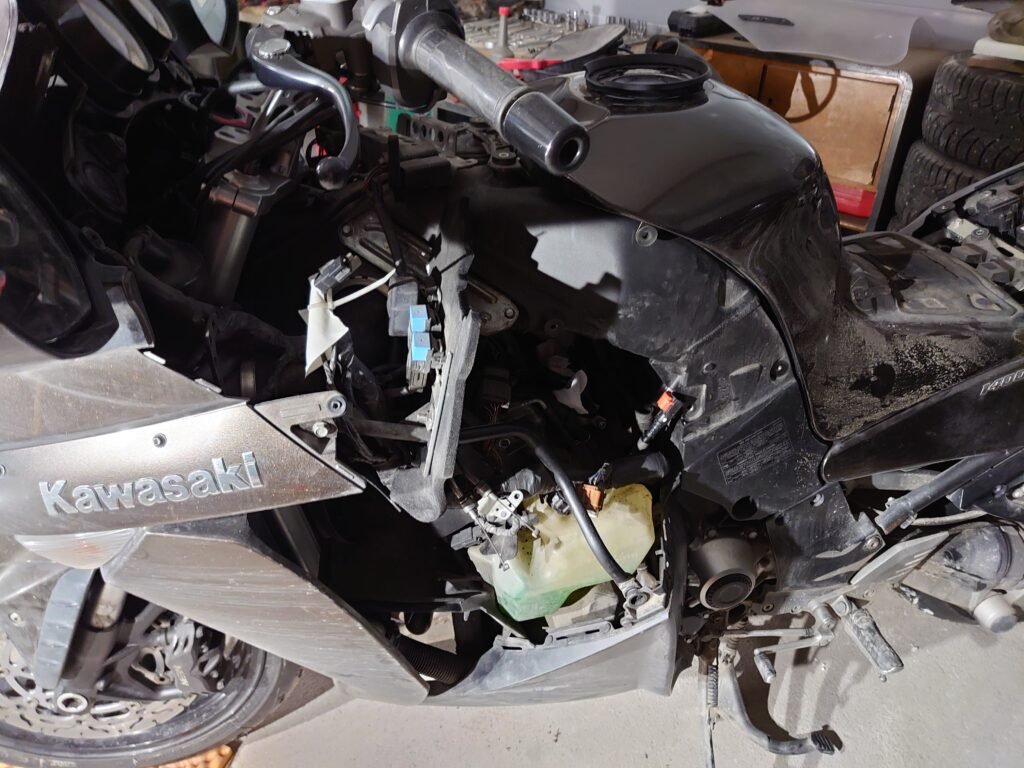
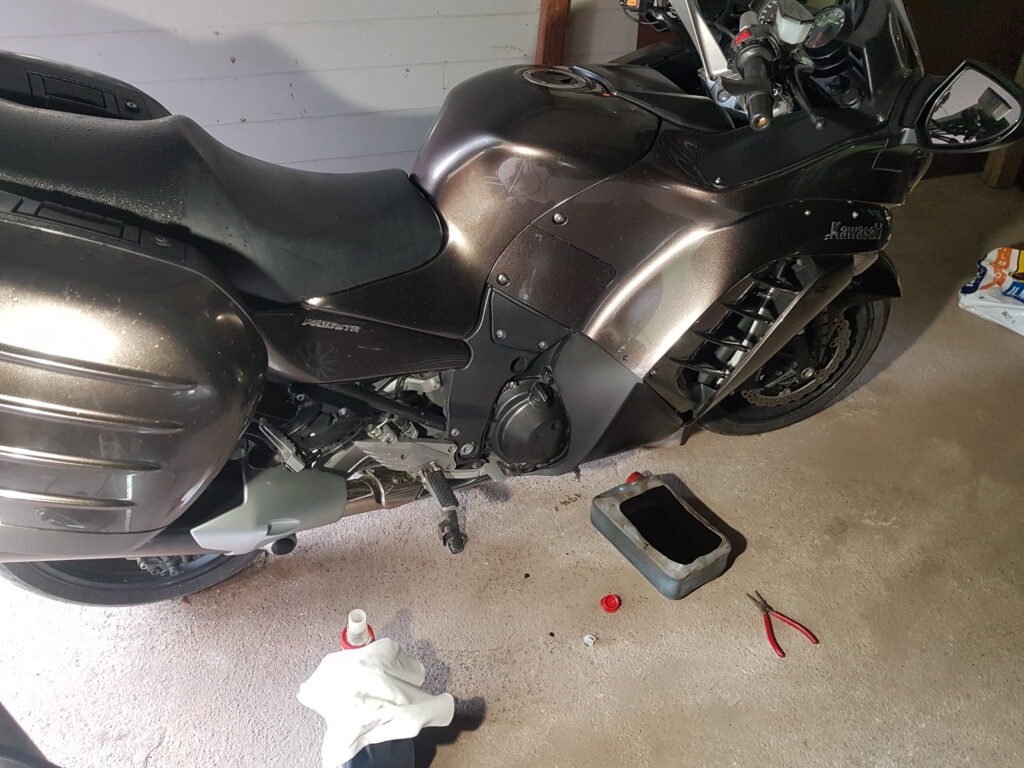
Fixing the problem required thorough maintenance and systematic work. At this point, I decided to handle the repair myself to ensure every detail was done properly. One of the biggest tasks was removing and reinstalling the fairings. Here’s what I did:
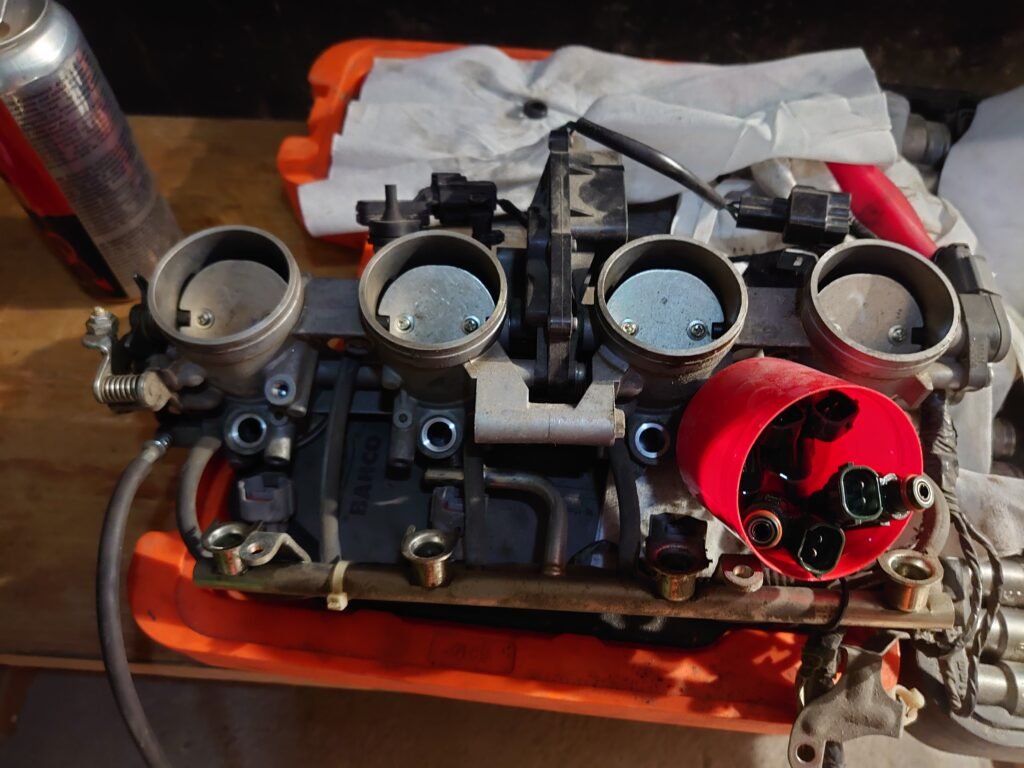
1. Fuel Injector Cleaning
- Testing and Cleaning: I used a fuel injector testing device to verify that the injectors were functioning properly during cleaning. I also tested for leaks using a vacuum pump.
- Replacing Seals: I ordered and replaced new seals for the injectors to ensure the fuel system was airtight and would function properly in the future.
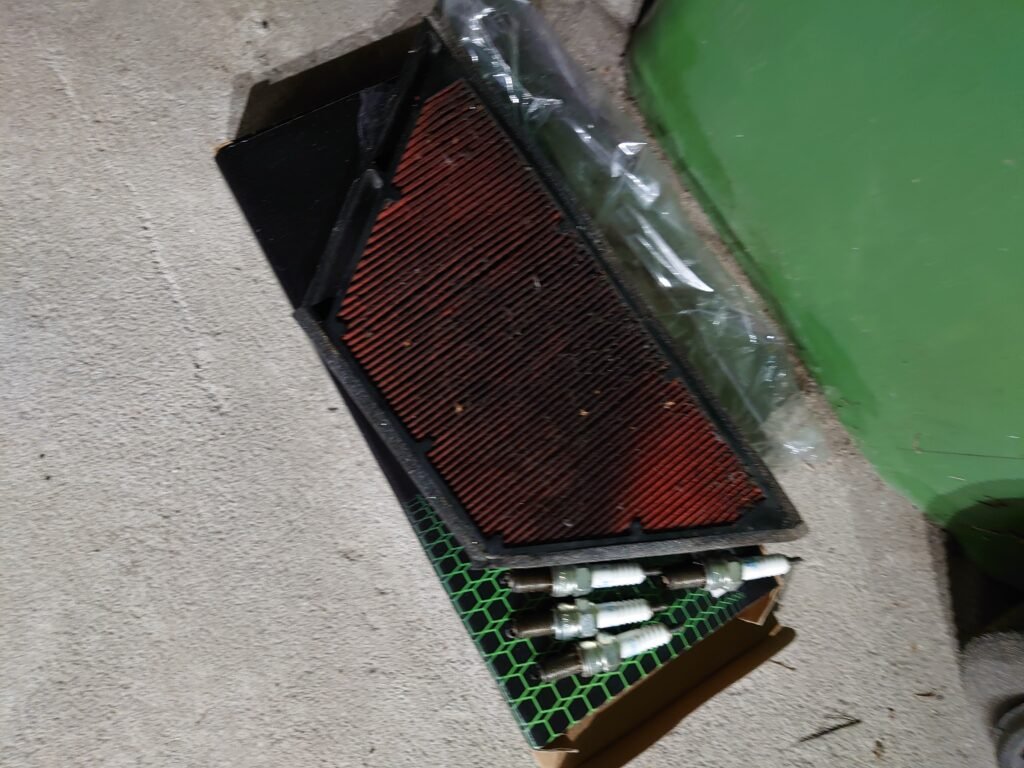
2. Replacing the Air Filter and Spark Plugs
Since the fairings were already removed, I decided to replace the air filter and spark plugs as well. This was the perfect time to do these maintenance tasks since they directly affect engine performance.
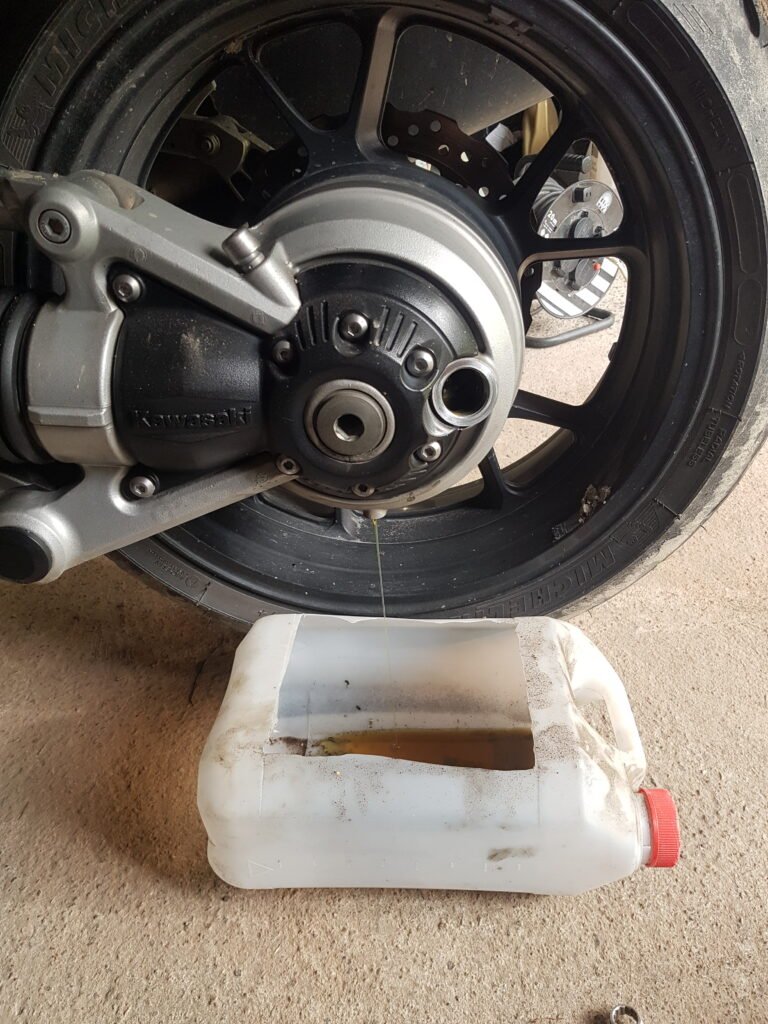
3. Oil and Fluid Change
I replaced the following fluids:
✔ Engine oil
✔ Final drive oil
✔ Brake and clutch fluids
This ensured that all systems were in top condition before the next riding season.
4. Test Run
After completing the maintenance, I test-ran the engine in my garage. The engine ran smoothly and seemed to function perfectly, but the final confirmation of the repair’s success will come when the riding season begins in spring.
Costs and Savings
Having this kind of maintenance done at a shop can easily cost several hundred euros, depending on the extent of the work and the shop’s pricing. Instead, I did the work myself and saved a significant amount. Here’s a breakdown of my expenses:
- Fuel injector testing device: Ordered from Temu, price €20
- Vacuum pump: Also from Temu, price €20
- Air filter and spark plugs: ~€80
- Oil, filter, and brake fluid: ~€100
💰 Total cost for parts and tools: ~€220
💰 Estimated savings: at least €300
Besides saving money, I also learned more about my motorcycle’s mechanics and ensured that the work was done thoroughly.
What Did I Learn From This Experience?
This maintenance process taught me a lot—not just about the fuel system, but also about how one single issue can have a widespread effect on the entire motorcycle. Here are my key takeaways:
✅ An increasing oil level can be a serious warning sign. If you notice this happening, investigate the cause immediately to prevent major damage.
✅ Fuel injector cleaning requires thorough work. A simple fuel system cleaner may not be enough—clogged injectors might require physical cleaning and testing.
✅ Combine maintenance tasks efficiently. When the fairings are off, it’s a good time to do other important tasks like replacing filters and fluids.
✅ Test the engine before riding. Before heading out on the road, always verify engine performance in a controlled environment like your garage.
Summary
The clogged fuel injectors in my Kawasaki GTR 1400 caused an unexpected and challenging problem, but thorough cleaning, testing, and other maintenance tasks seem to have resolved it. While the final confirmation will come once the riding season starts, I’m confident that my bike is now in great condition and ready for summer adventures.
If you’ve experienced similar issues or have any questions about the maintenance process, leave a comment below. Let’s keep our bikes in top shape and ready to hit the road!
📹 Want to see more from this project? Check out my YouTube videos:
▶ Video 1
▶ Video 2
▶ Full Video
Leave a Reply